

This is different from the Shopify (Storefront MCP) connection, which only reads the public catalog, carts and policies of a store and needs no app. Use this guide when an automation should read or change store data through the Admin API.
Before you start
- You are the owner or a staff member with app-development permission of the Shopify store.
- Your Famulor workspace has the Automation platform on its plan and Beta Features enabled (Settings → Workspace → Beta Features).
- Keep the store’s permanent name at hand — the
acmeinacme.myshopify.com(Shopify admin → Settings → Domains). Your custom domain will not work.
Step 1 — Open the Dev Dashboard
In your Shopify admin, type App development into the search bar and open the settings entry, or go to Settings → Apps and sales channels → Develop apps.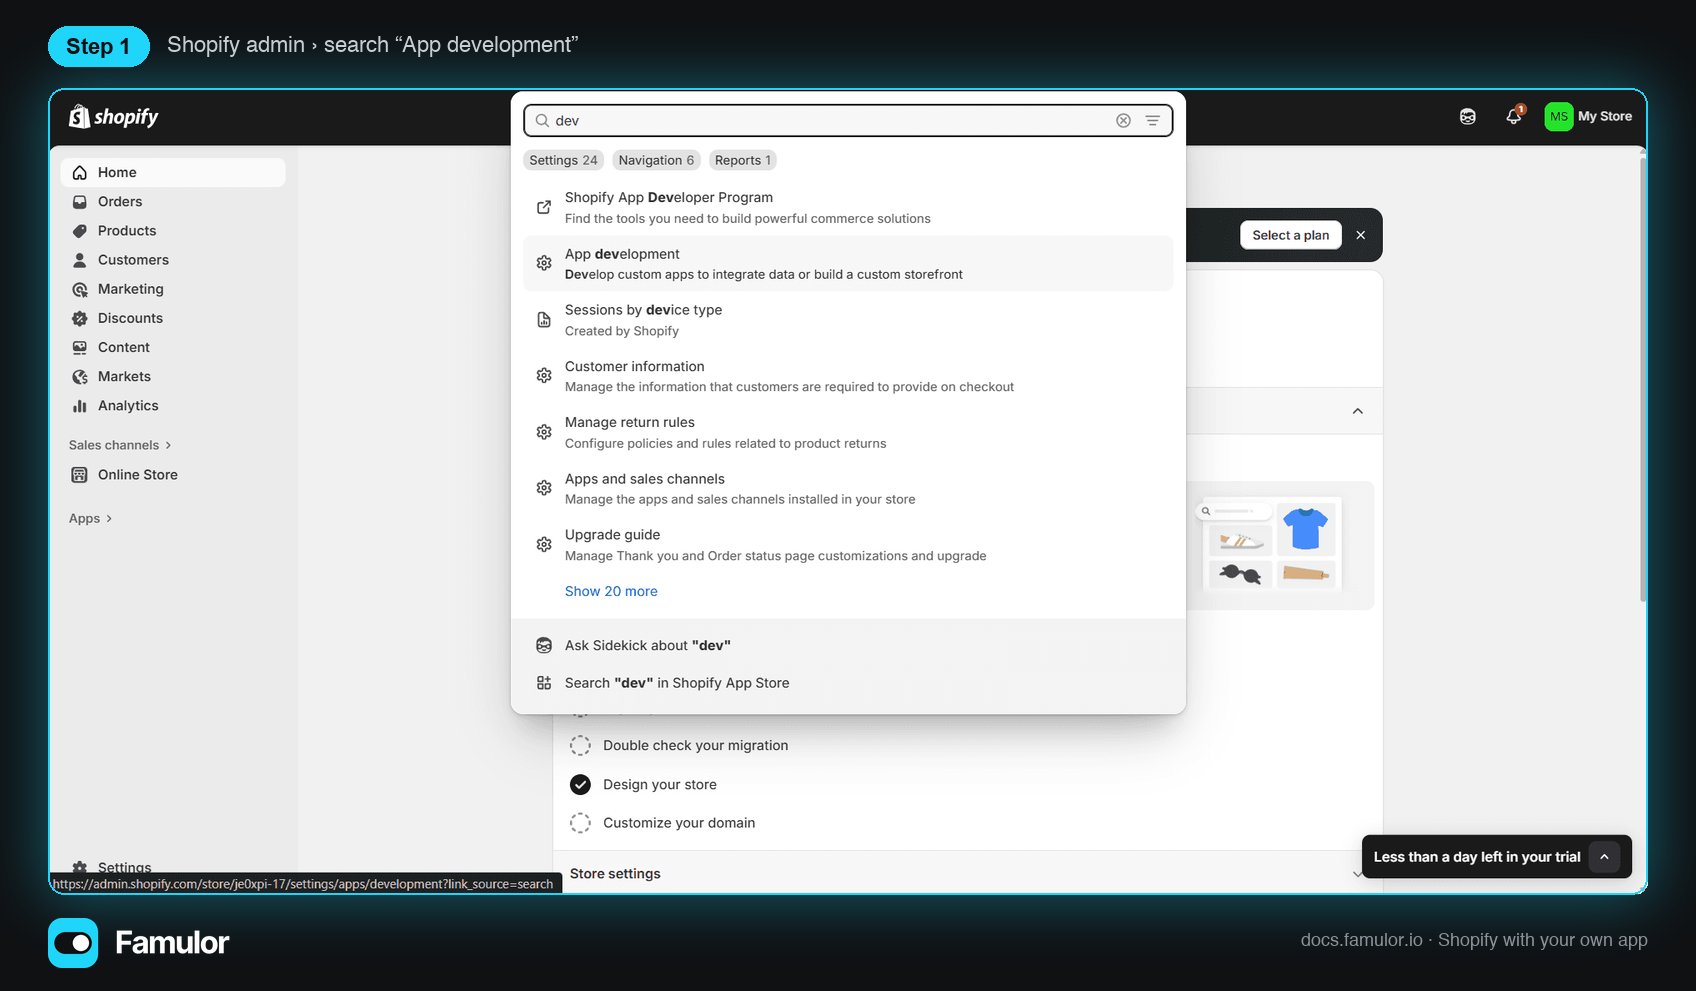
Shopify admin: search for “App development”
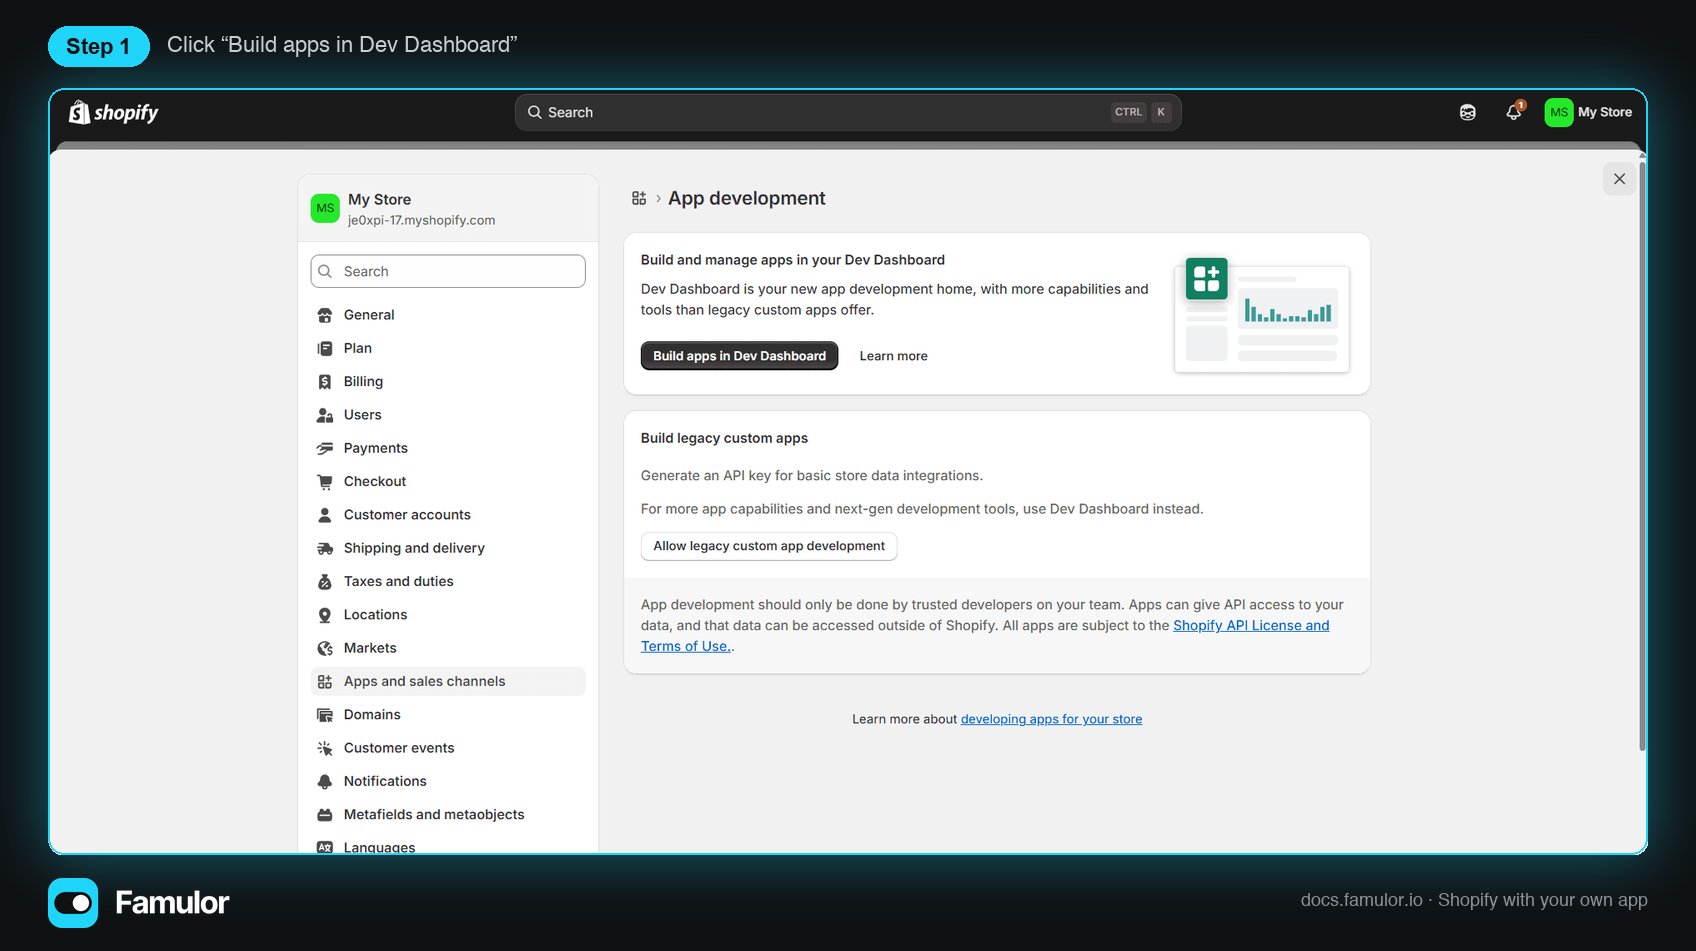
Open the Dev Dashboard from App development
Step 2 — Create the app
In the Dev Dashboard click Create app (top right).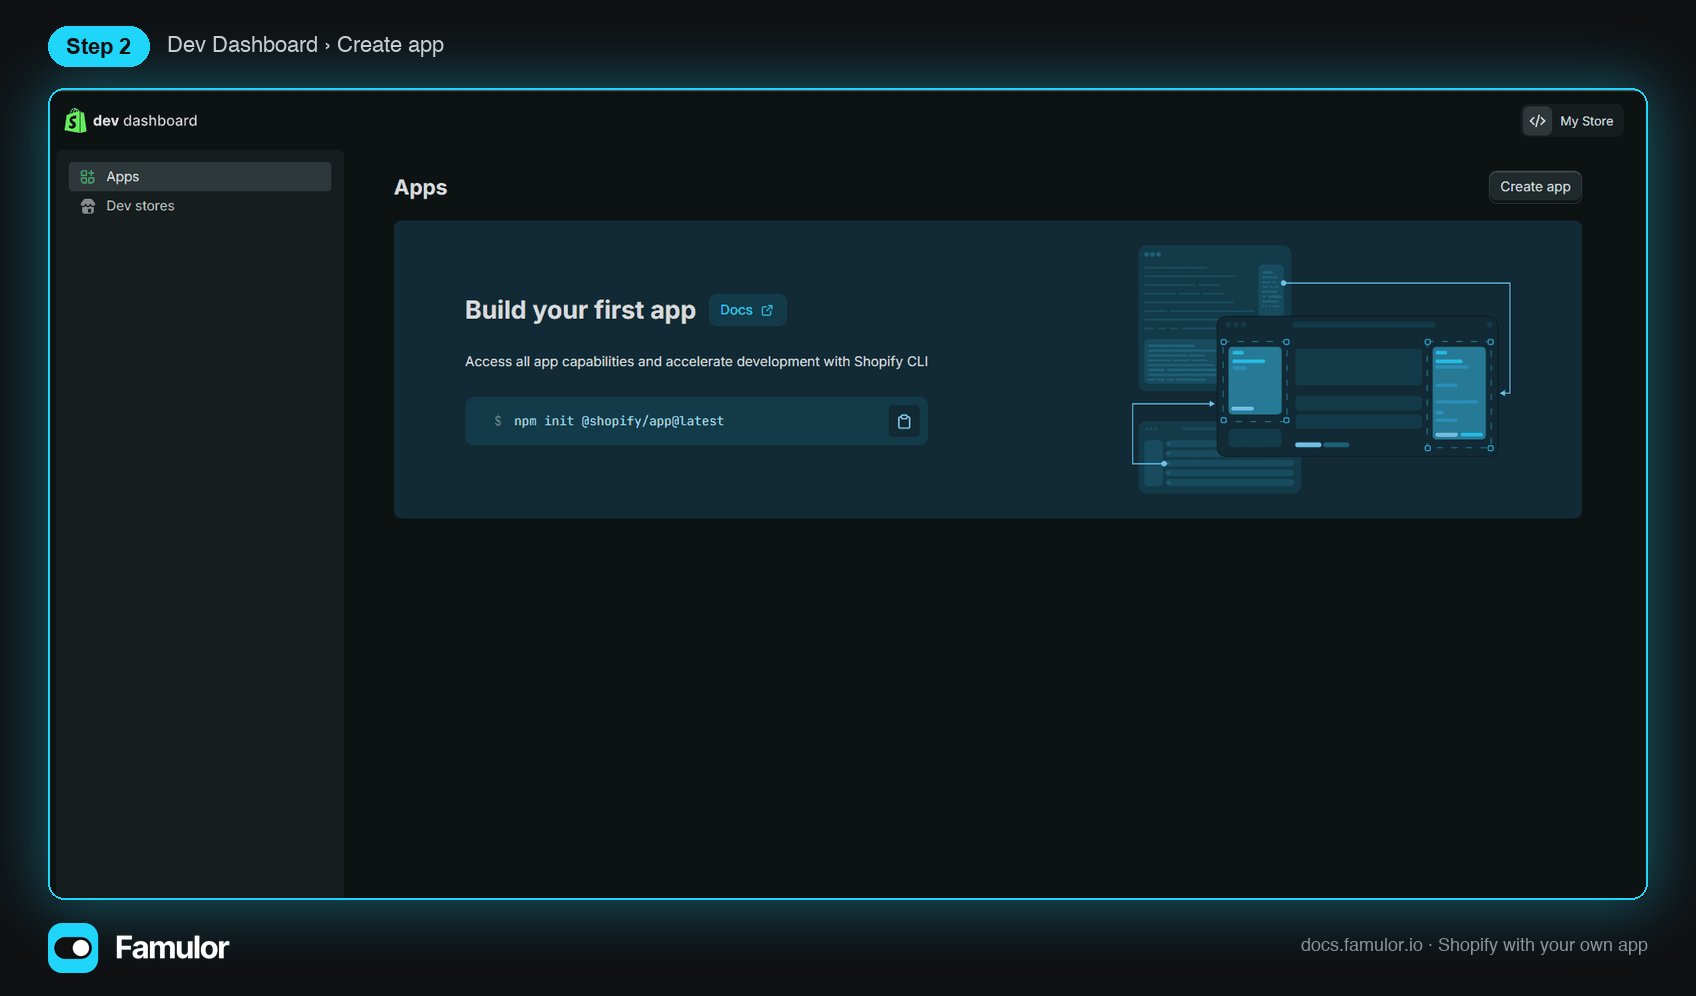
Dev Dashboard → Create app
famulor-voice) and click Create. You do not need Shopify CLI.
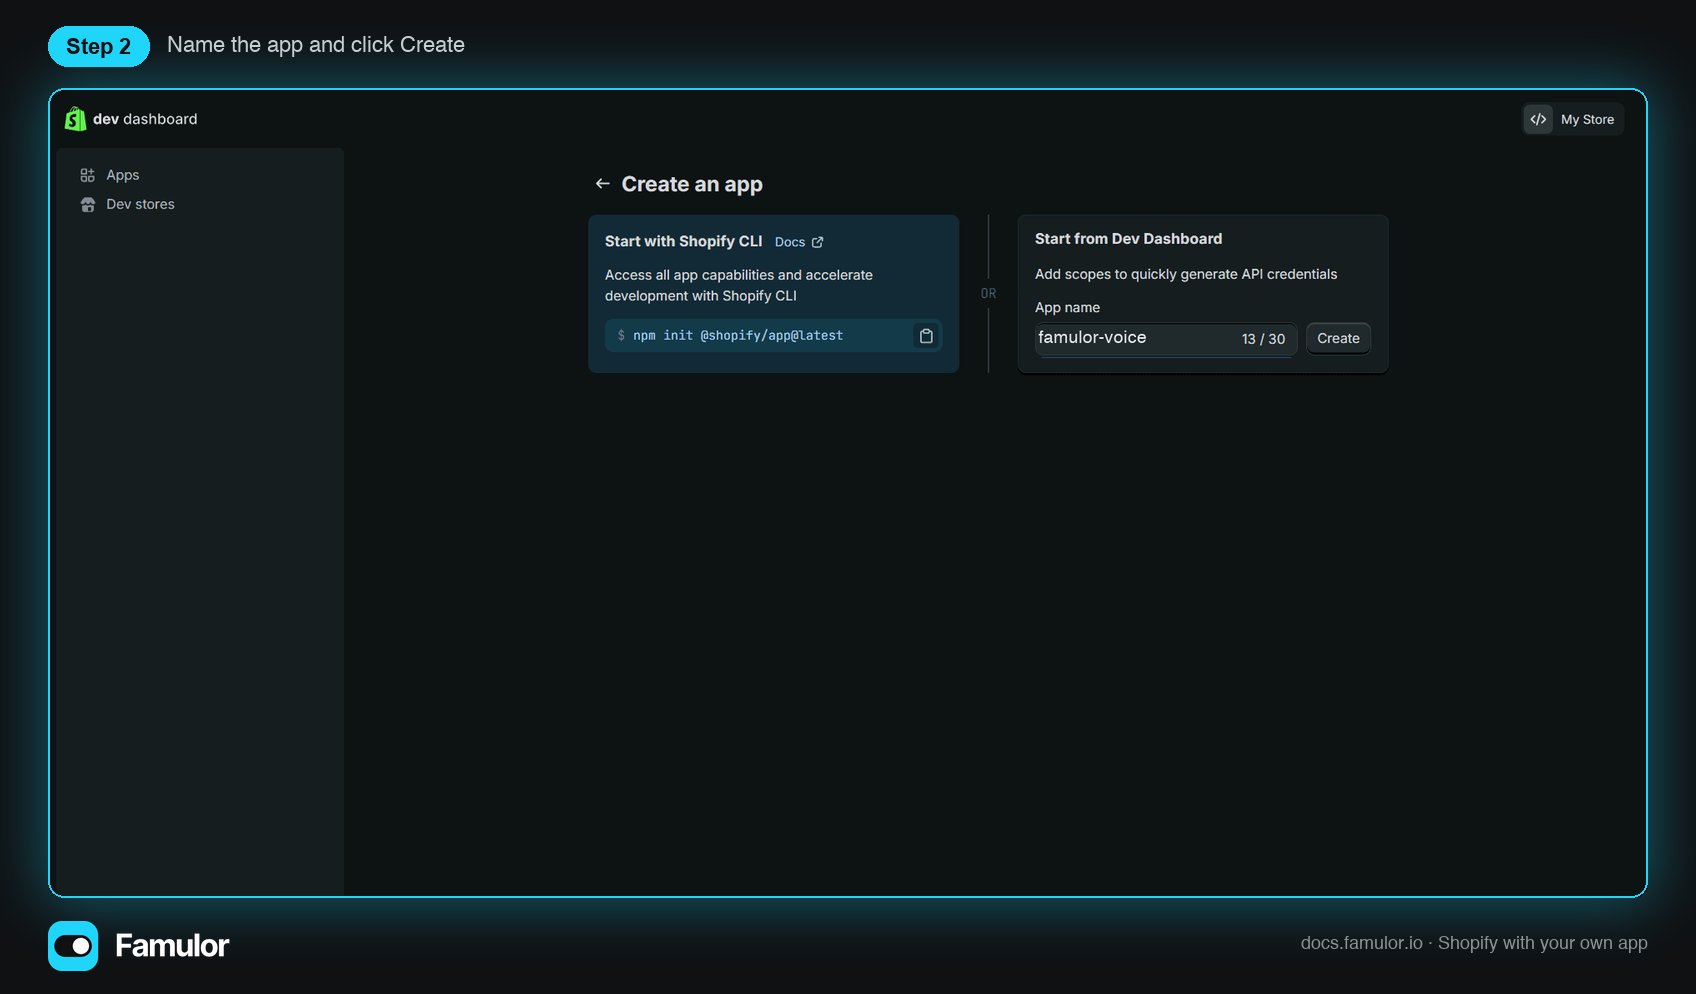
Name the app and click Create
Step 3 — Configure a version with the scopes Famulor needs
Open Versions and click Create a version. Keep App URL at a placeholder such ashttps://example.com — Famulor does not host an embedded app — and leave the redirect URLs empty. This connection type does not use them.
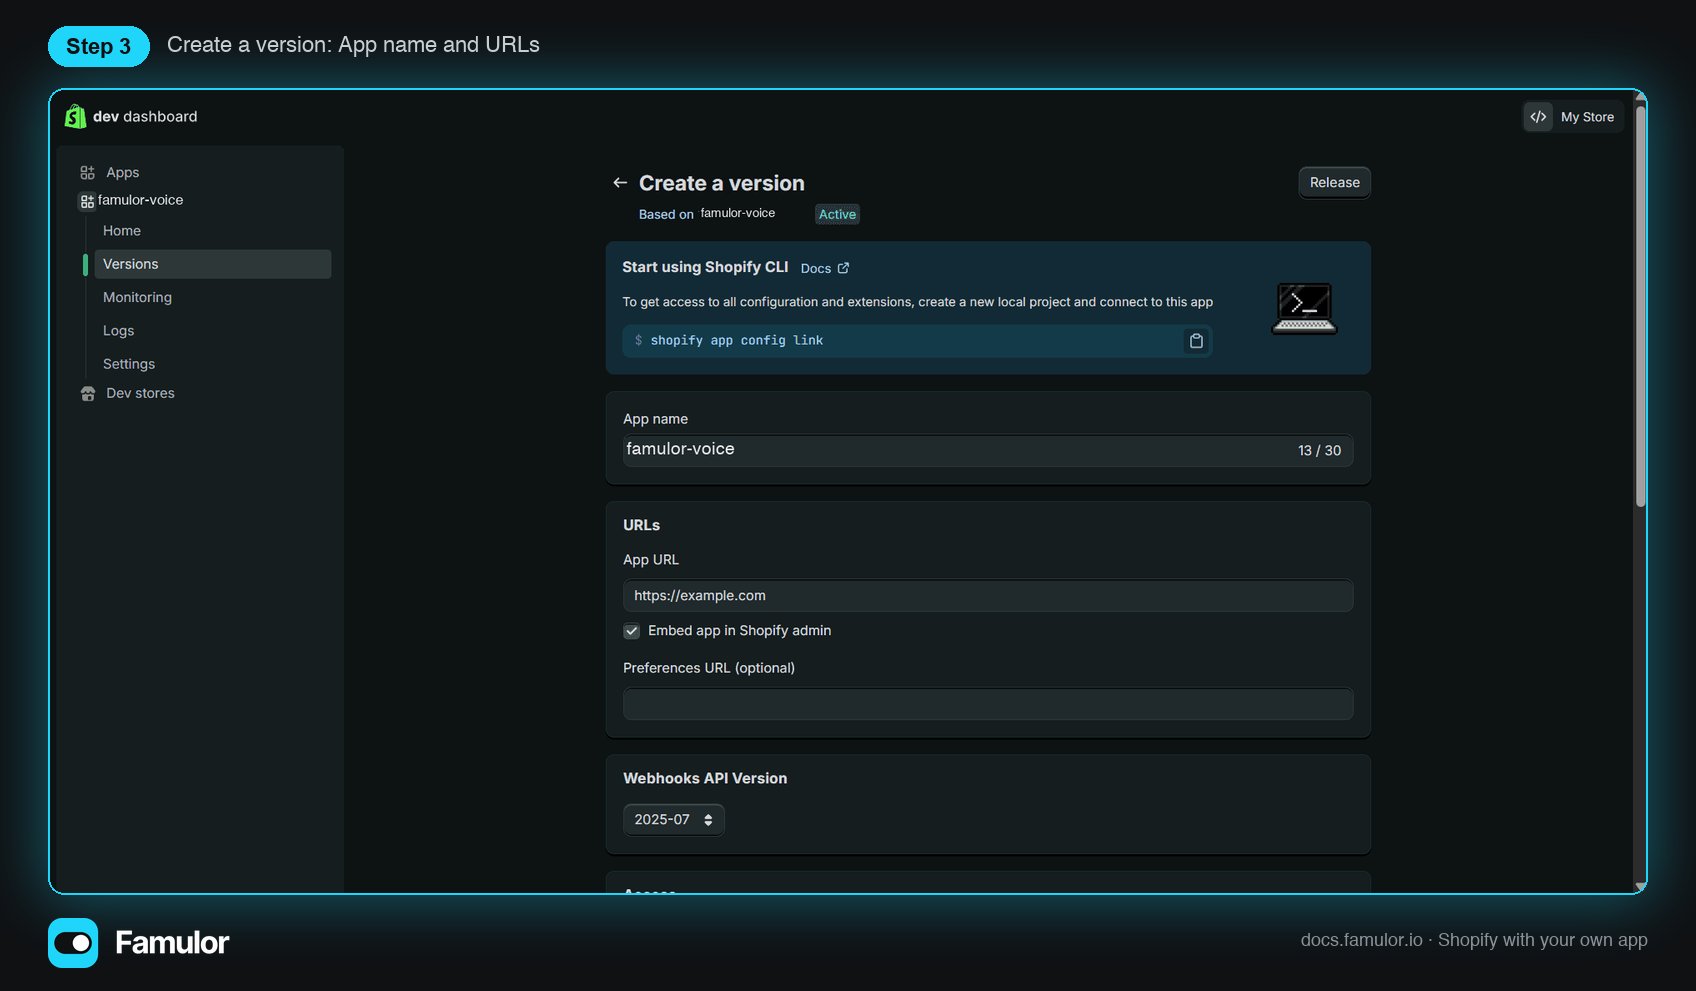
Create a version: name and URLs
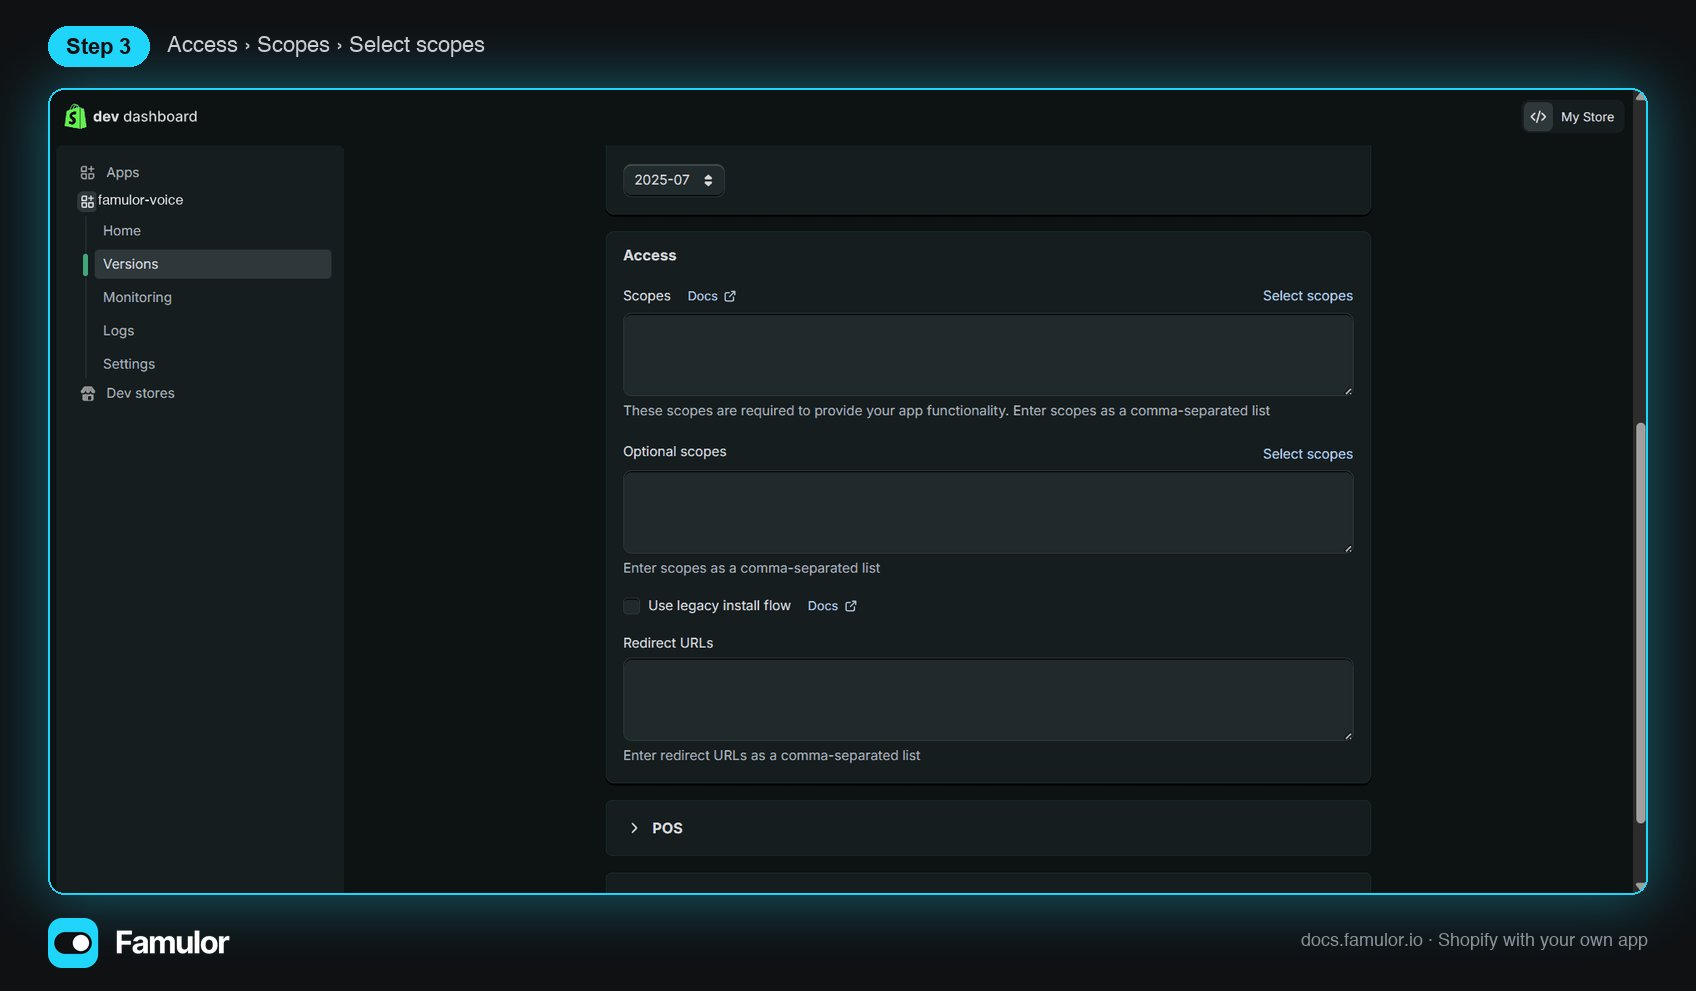
Access → Scopes → Select scopes
Only
read_* scopes for the areas you use is fine too. If an automation later fails with a permission error, add the scope here, release a new version and reconnect in Famulor.
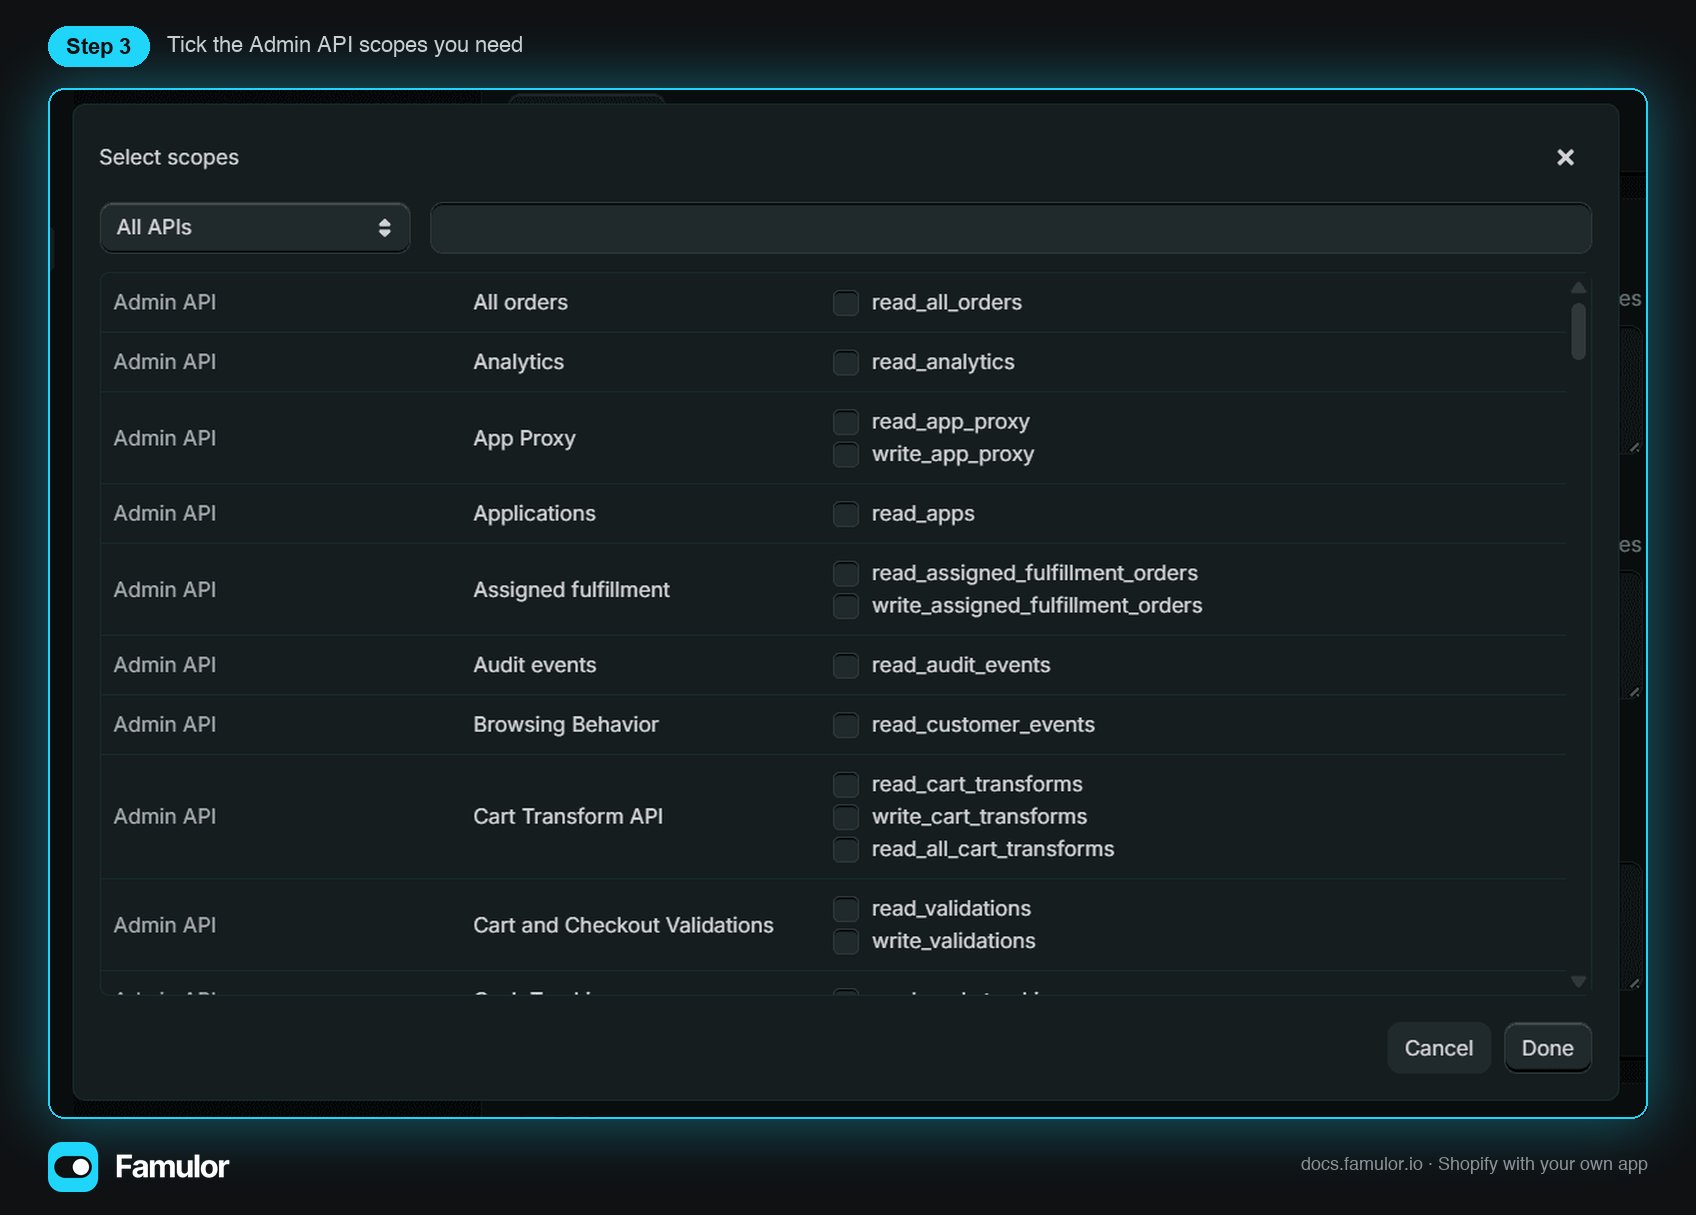
Pick the Admin API scopes
v1) — then confirm Release.
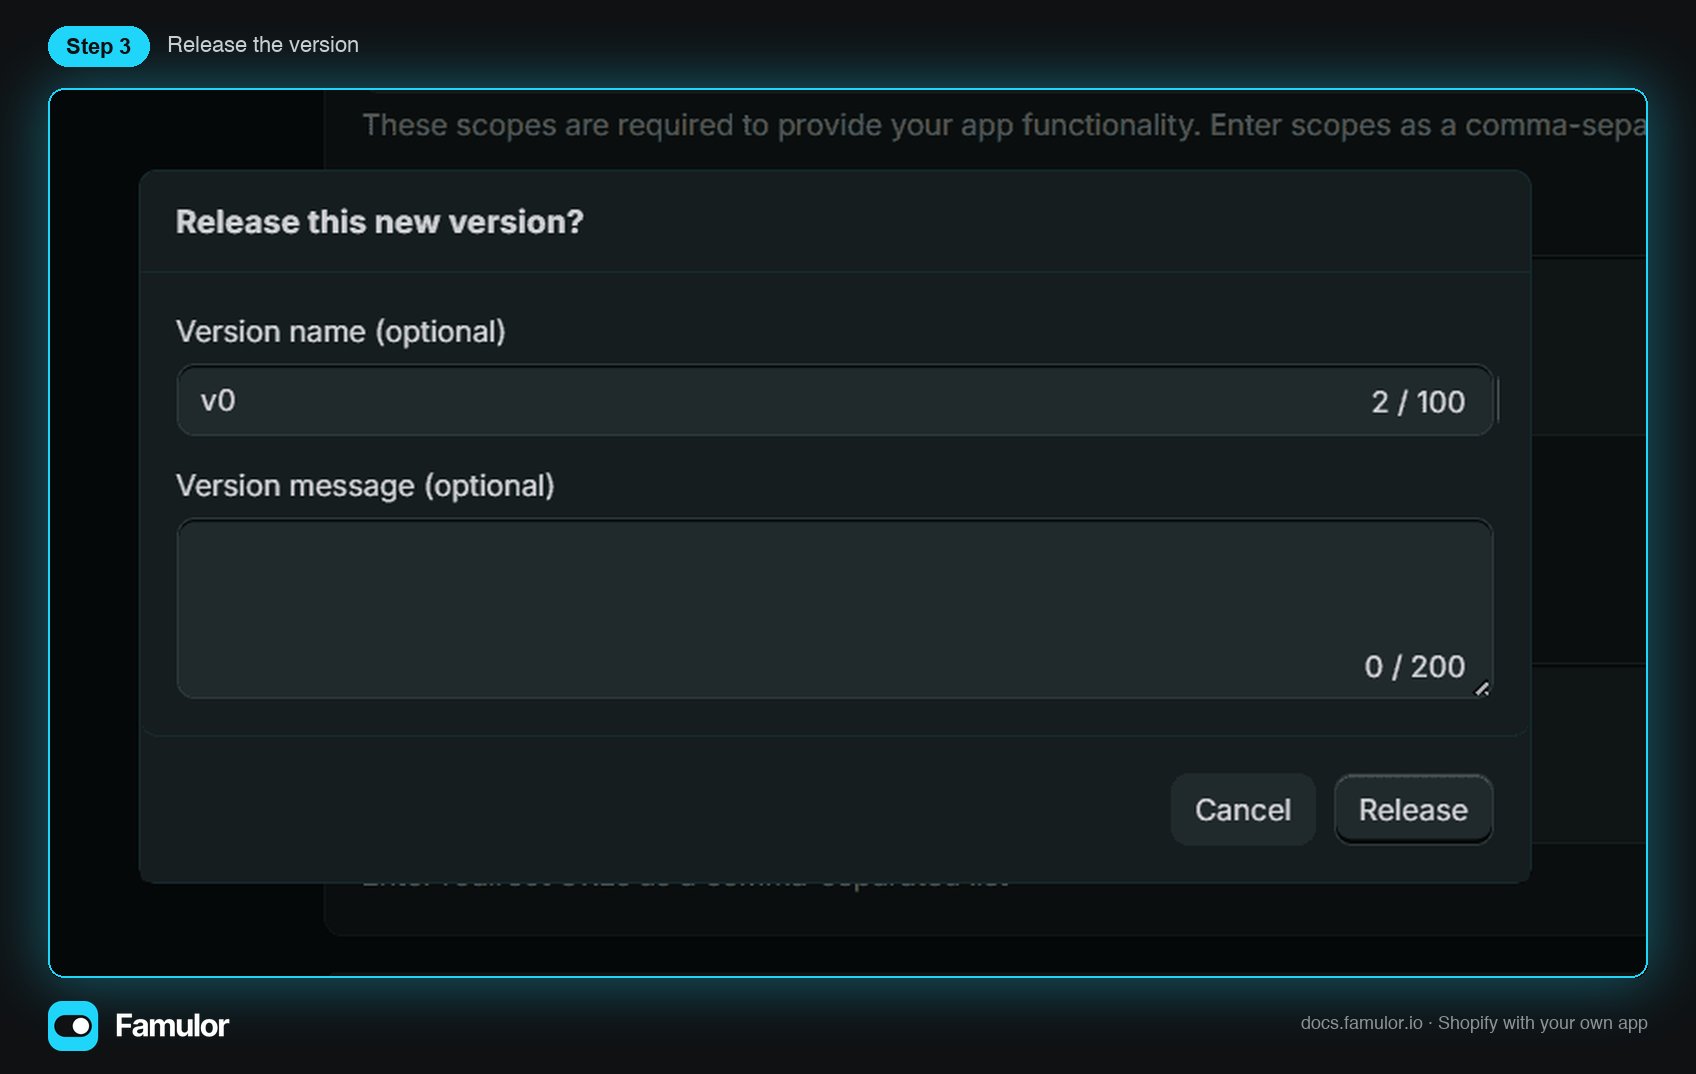
Release the version
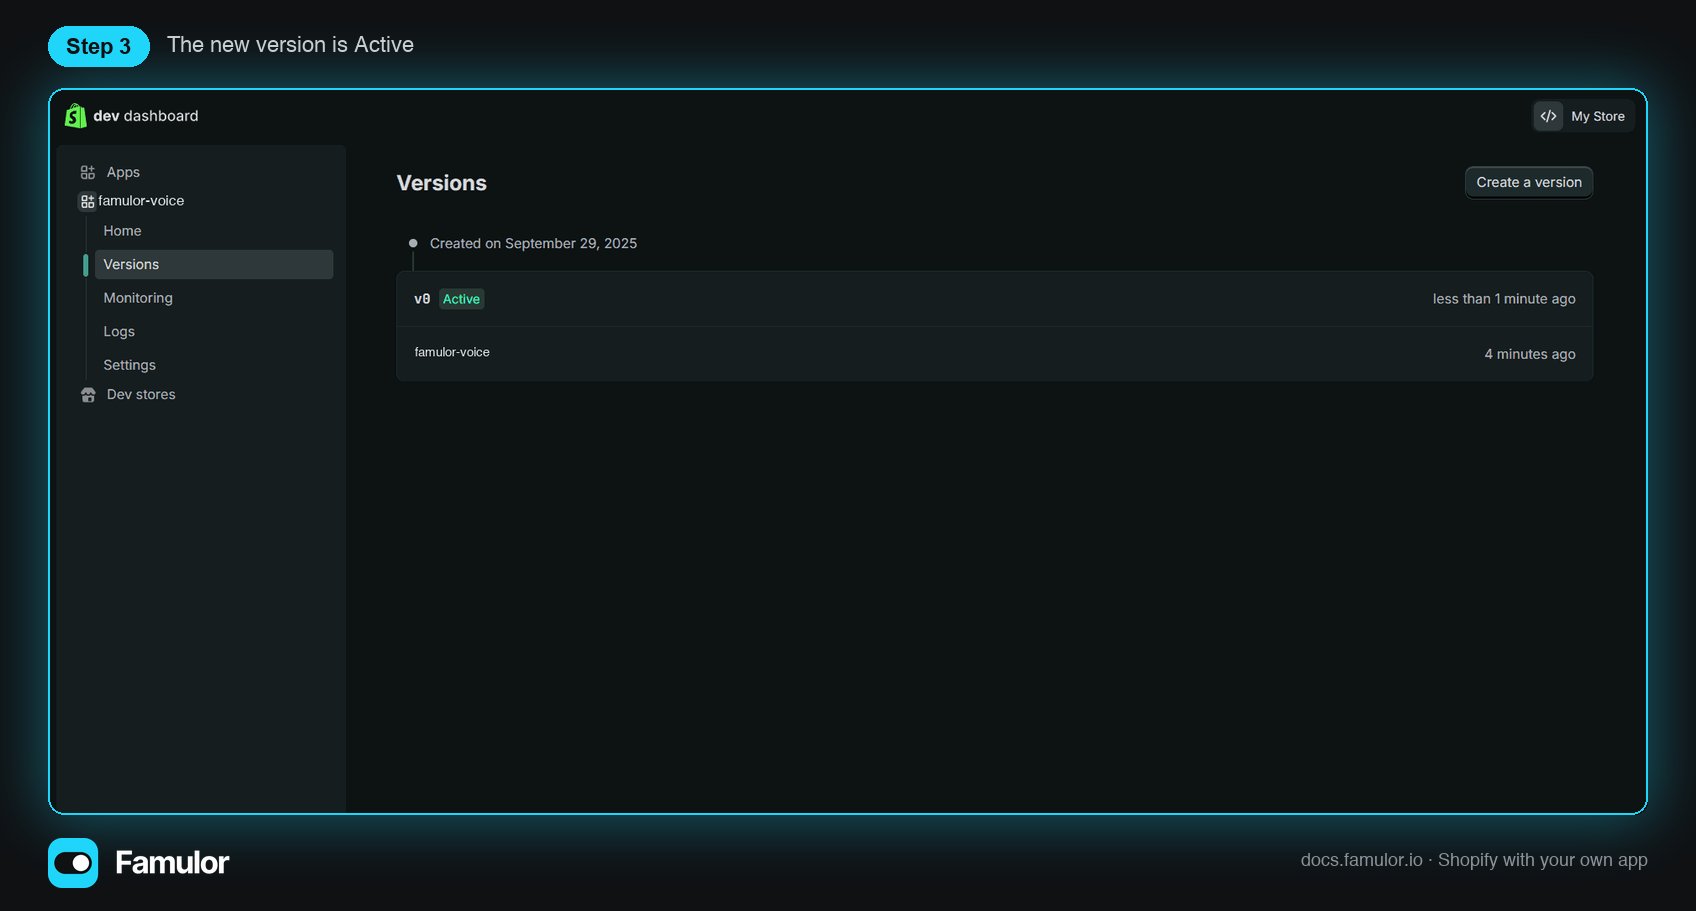
The version is Active
Step 4 — Set distribution and install the app on your store
Famulor exchanges the app’s credentials for an Admin API token with Shopify’s client-credentials grant. Shopify only allows that once the app is installed on the store, and both app and store must belong to the same Shopify organization — which is the case when you create the app from your own store.- In the app’s left menu open Distribution (on some accounts it is under Home → Distribution).
- Choose Custom distribution and confirm. Custom distribution is the right choice for an app that only your own store(s) use; it needs no App Store review.
- Enter your store’s
.myshopify.comdomain, click Generate link and open the install link. - In your Shopify admin, review the requested scopes and click Install.
Step 5 — Copy the Client ID and secret
In the app’s Settings you find Credentials. Copy the Client ID and reveal and copy the Secret.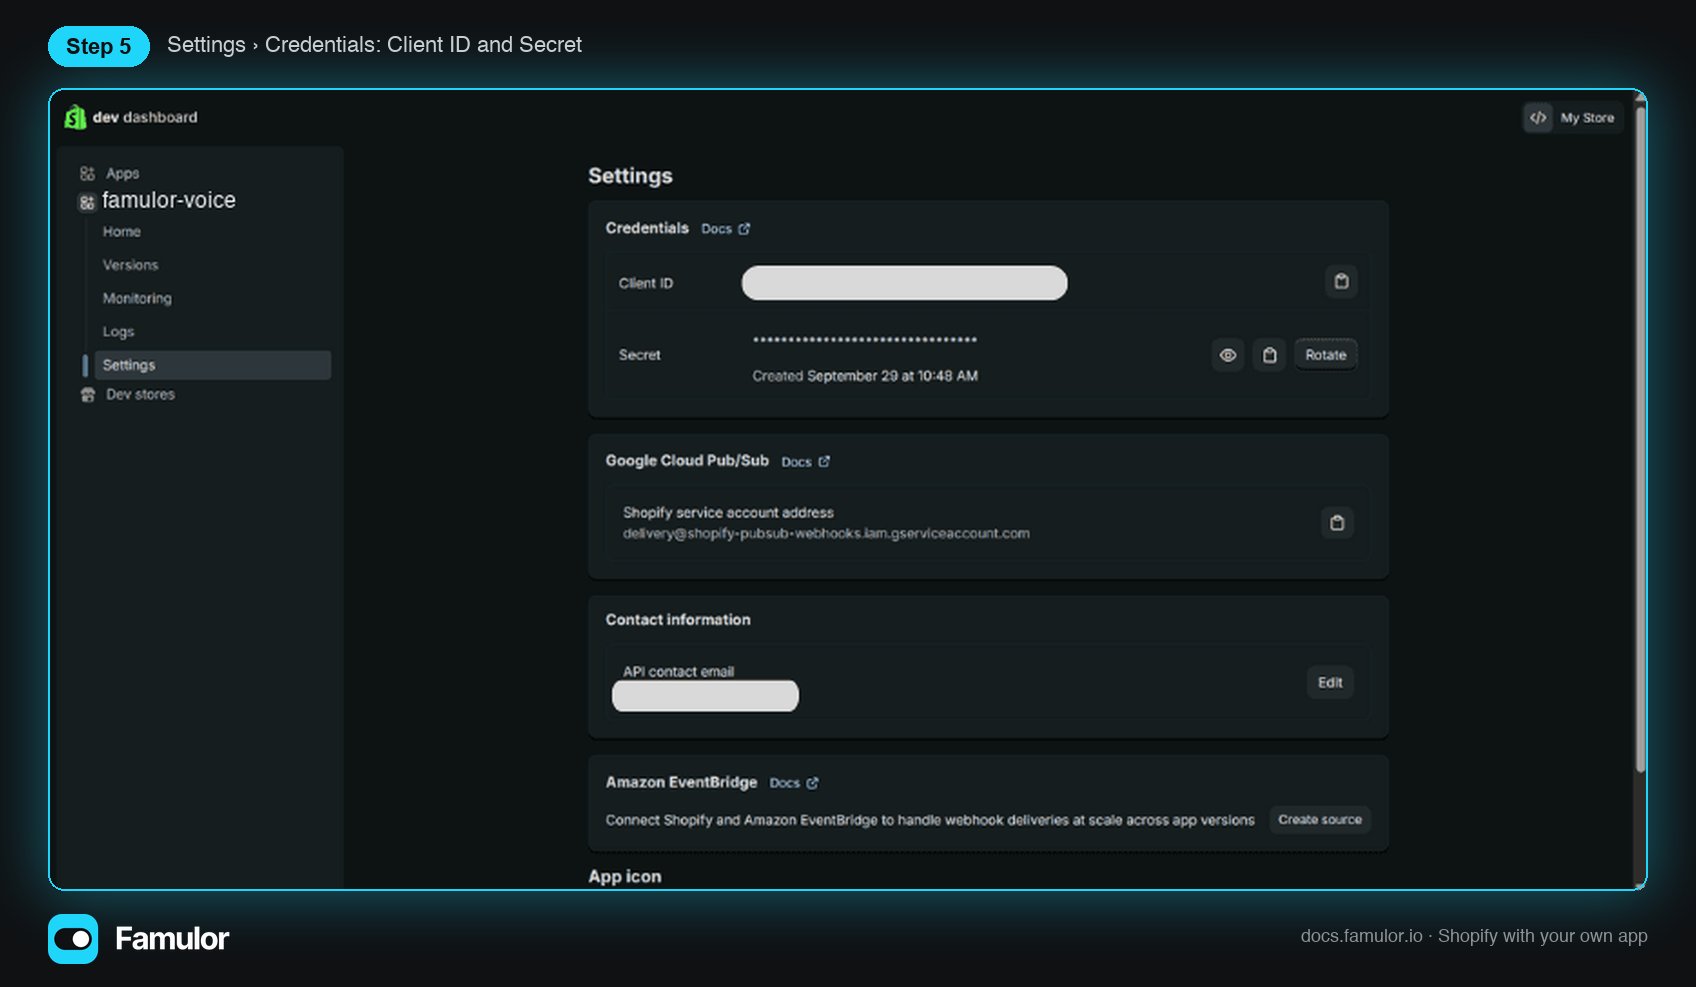
Settings → Credentials: Client ID and Secret
Step 6 — Connect in Famulor
- In Famulor open Automations → Connections and click Add connection.
- Choose Browse apps (Beta), search for Shopify and select it.
- Enter the store name (
acmeoracme.myshopify.com— Famulor trims it), the Client ID and the Client secret. - Click Connect Shopify.
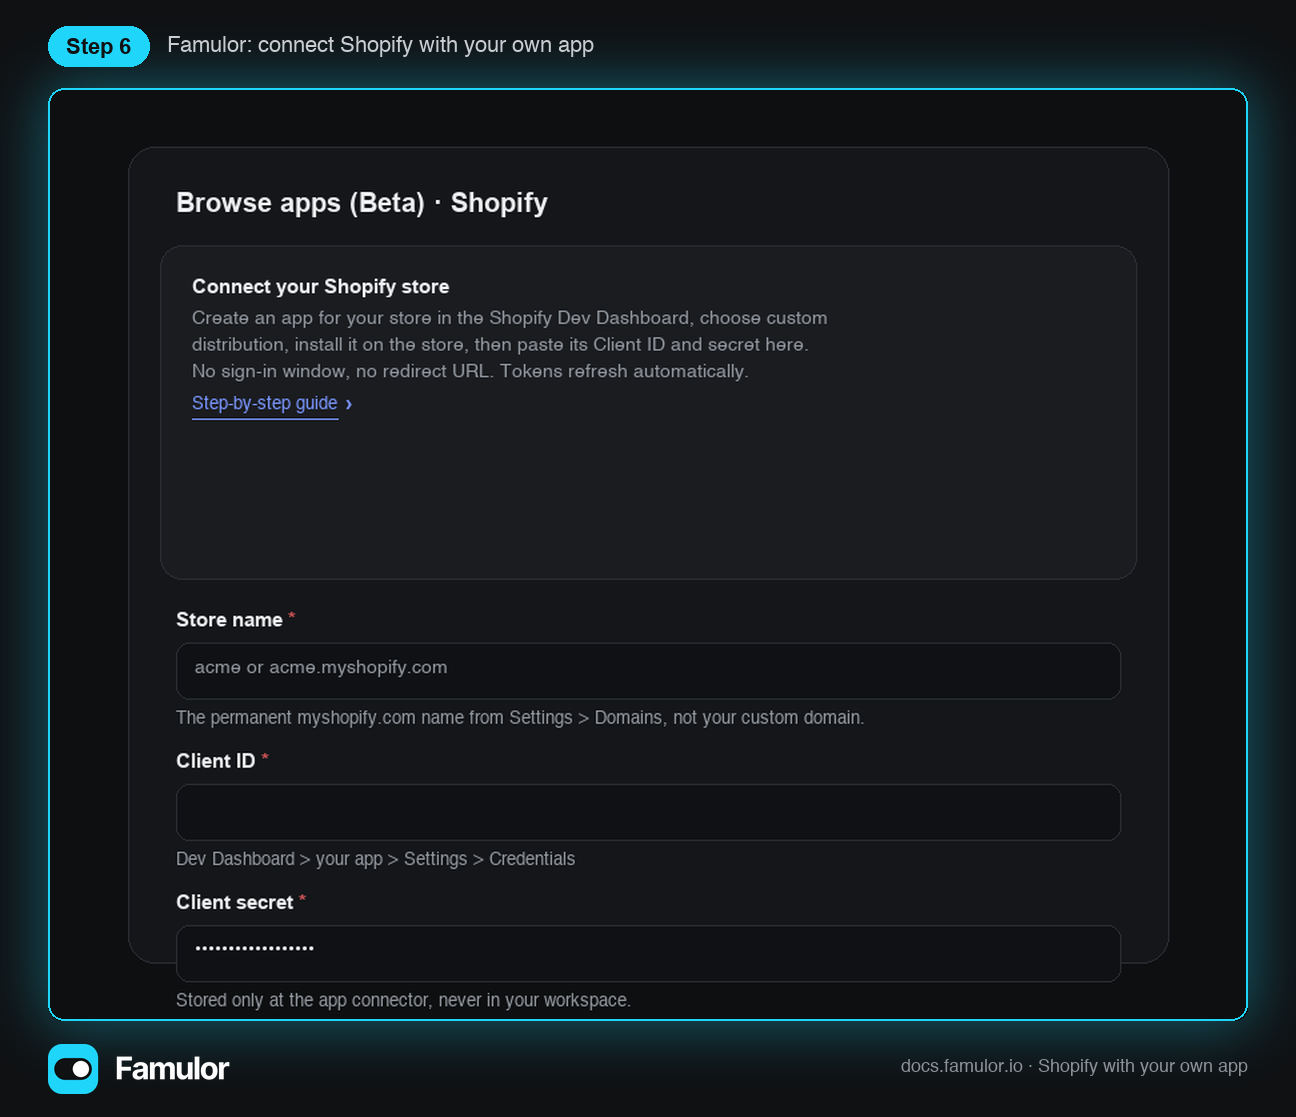
Famulor: connect Shopify with your own app
Troubleshooting
Reconnecting and removing
- Replace credentials: open the connection under Automations → Connections and choose Edit. Enter the new Client ID and secret; Famulor replaces the stored app credentials in one step.
- Remove: deleting the connection also removes the app credentials from the app connector. Automations that used the connection show Connect needed until you connect Shopify again.
- To revoke access on the Shopify side, uninstall the app from your store or rotate the secret in the Dev Dashboard.
Related
- App Catalog — the Shopify triggers and actions you can use
- Automation node reference
- Automations overview