Prerequisites
Before setting up Cal.com integration, you’ll need:- A Cal.com account (either hosted or self-hosted)
- An event type configured in Cal.com
- An API key from Cal.com
Setup Process
1. Cal.com Configuration
- Sign up or log in to your Cal.com account
- Create a new event type specifically for AI assistant bookings
- Give it a clear name like “Meeting with AI Assistant”
- Configure duration, availability, and other settings
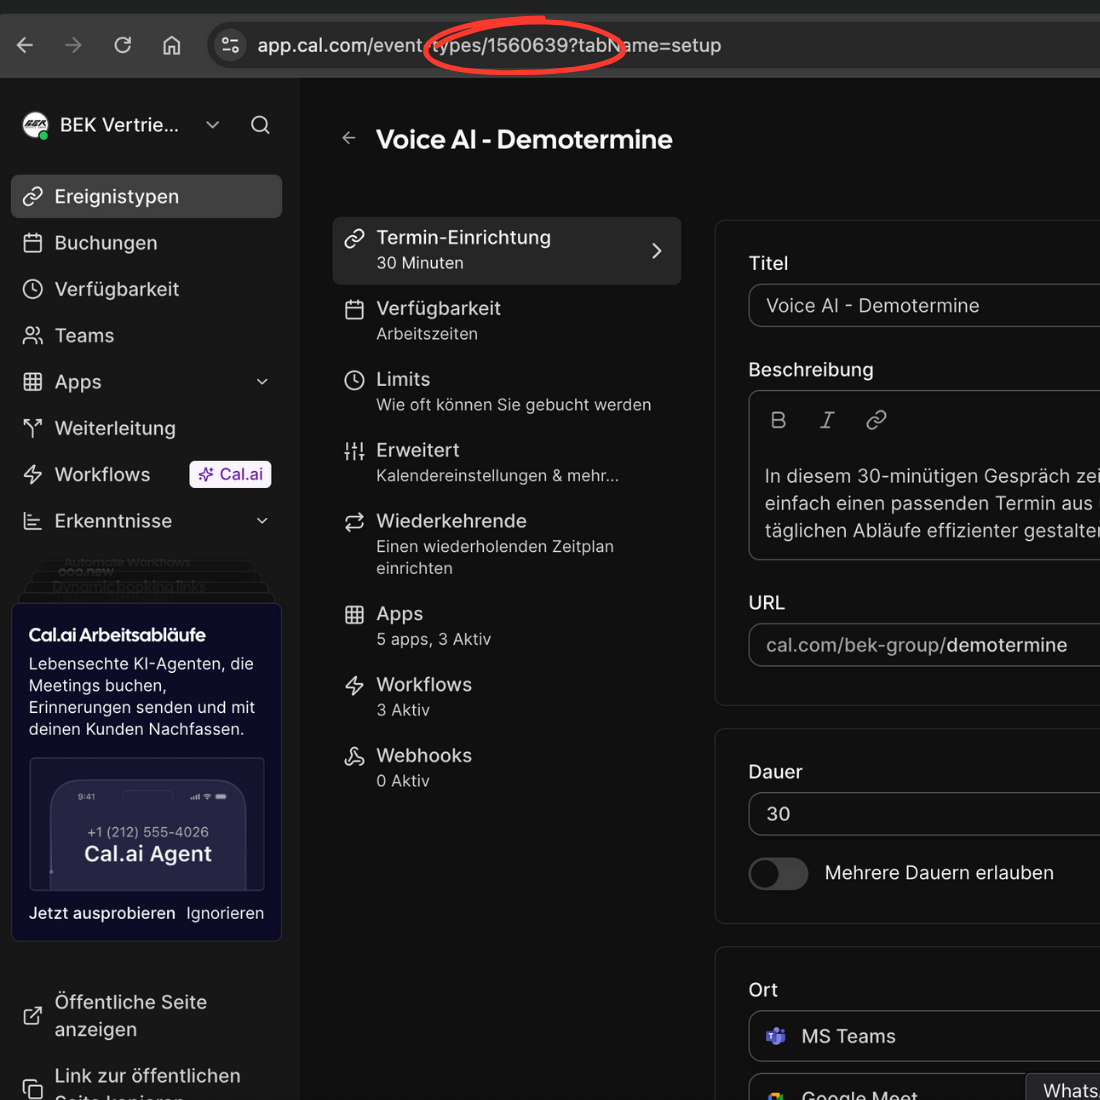
- Once created, note down the event ID from the URL
- Generate an API key:
- Go to Cal.com settings
- Navigate to Developer Settings
- Create a new API key
- Copy and securely store the API key
2. Customer Contact Information
Email Configuration
To send calendar invites to customers:- Define
emailin your assistant’s input variables - Pass the customer’s email as the
emailvariable when creating the lead - The system will automatically use this email for calendar invitations
Phone Number in Calendar Events
To include the caller’s phone number in calendar events:- Go to your event settings in Cal.com
- Click on “Add a question”
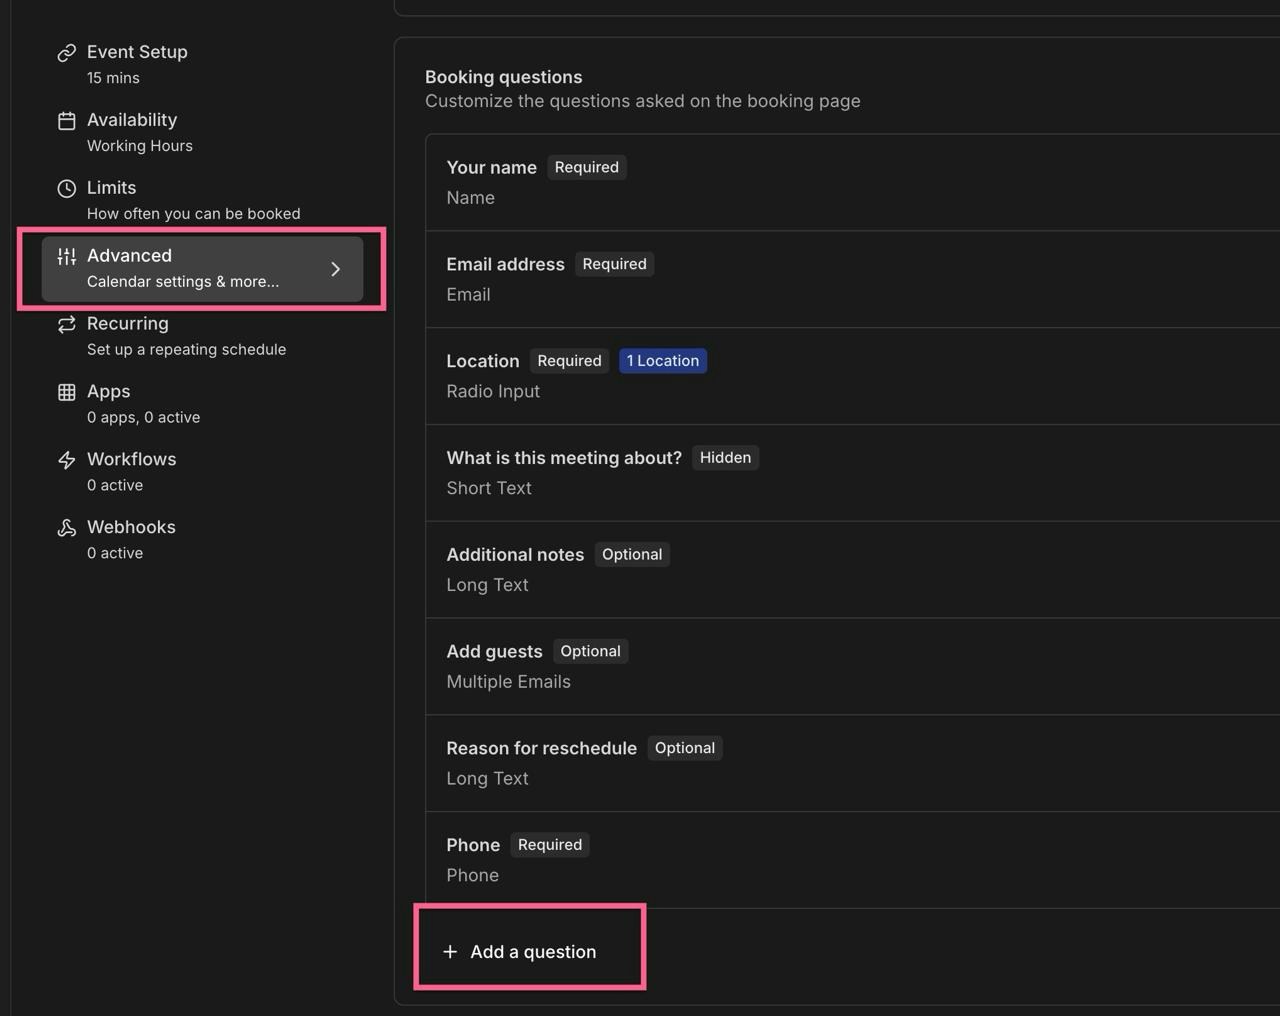
- Configure the field with these exact values:
- Identifier:
phone(this must be exact)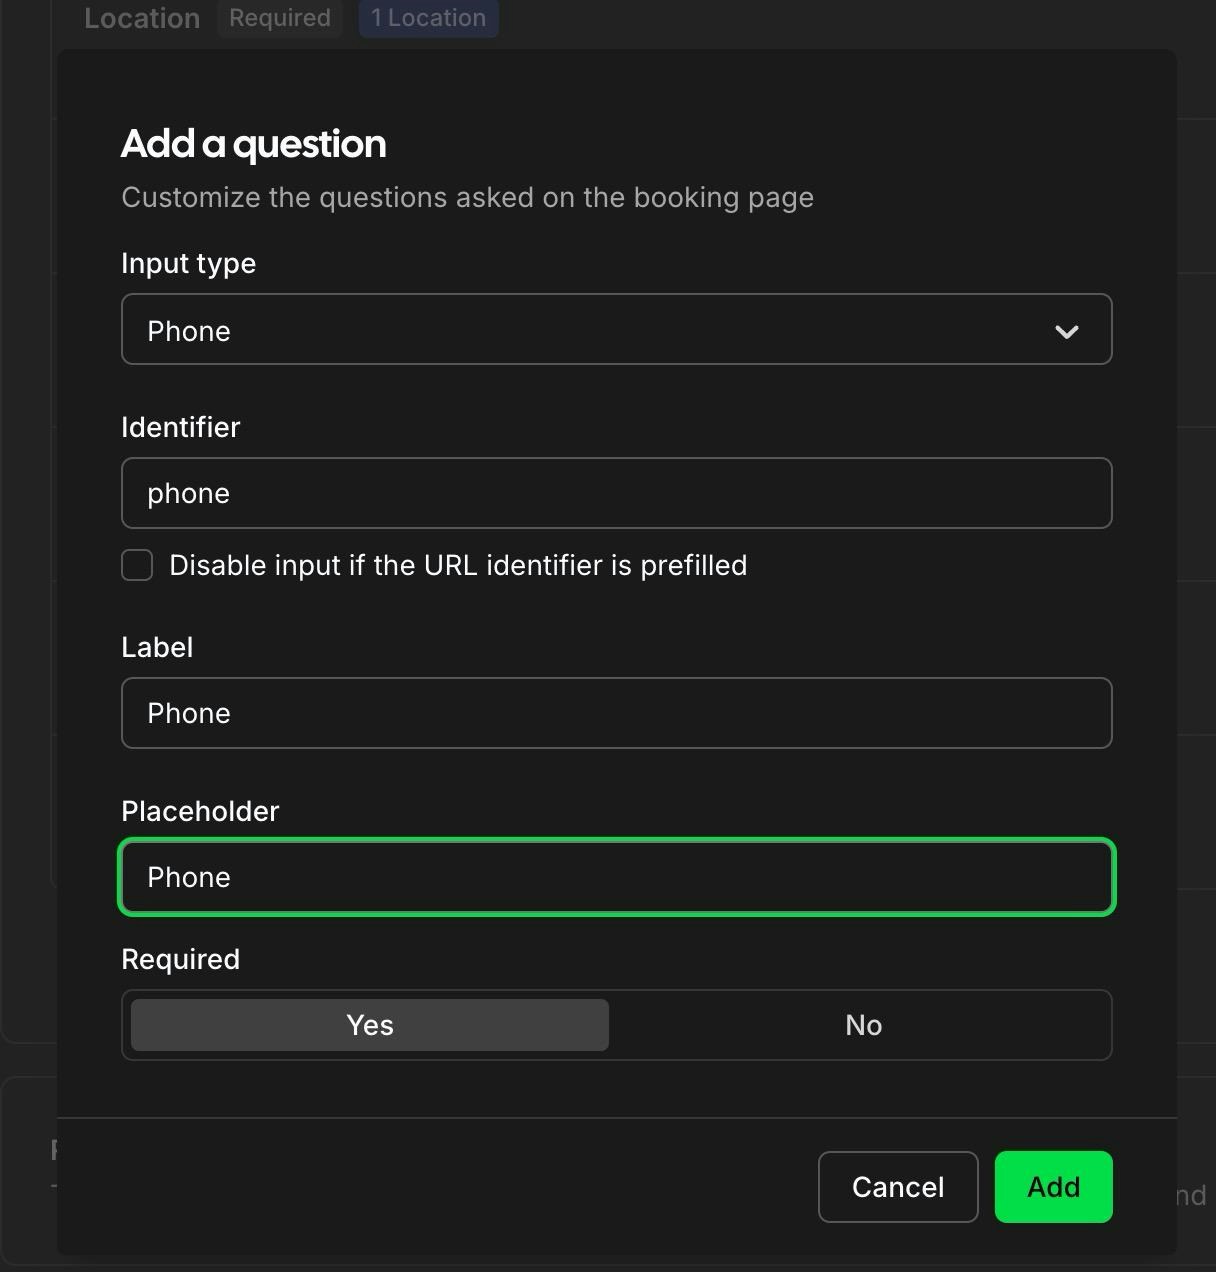
- Identifier:
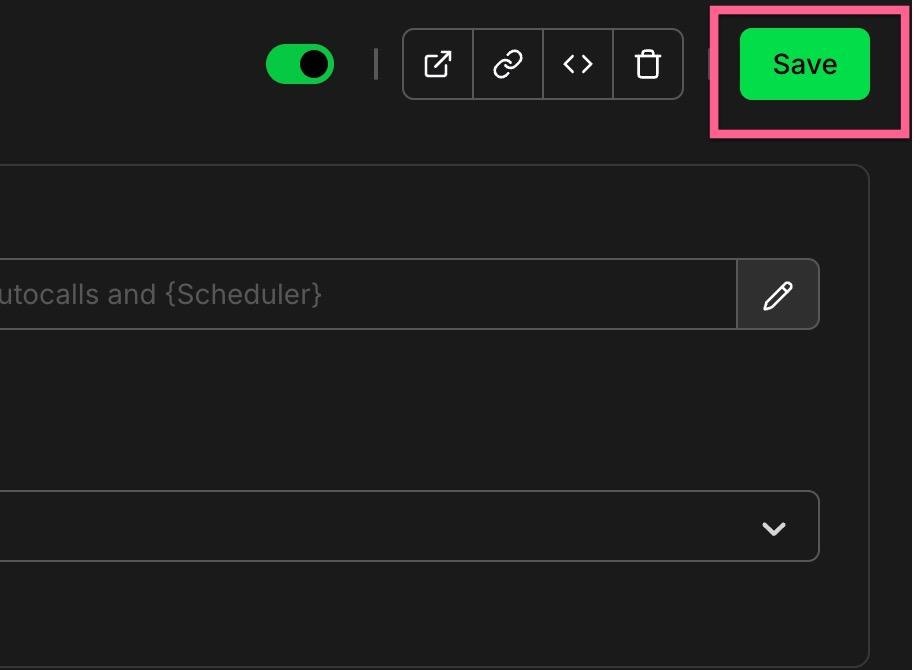
- Save your changes
3. Adding Cal.com to Your Assistant
- In your AI assistant settings, locate the Tools section
- Add the Cal.com integration
- Configure the tool with:
- Your Cal.com API key
- The event type ID
Best Practices
- Create dedicated event types for AI bookings to track their usage
- Set clear buffer times between meetings
- Configure appropriate meeting durations
- Use descriptive event names that make sense to your customers
- Keep only default fields and the phone field optional
- Always include customer email in lead creation for calendar invites
Testing
After setup, we recommend:- Making a test call to your AI assistant
- Requesting to schedule a meeting
- Verifying the booking appears in your Cal.com dashboard
- Checking that the phone number appears in the calendar event
- Verifying the customer receives the calendar invitation email
- Checking the confirmation emails are received
Fetching Multiple Days at Once
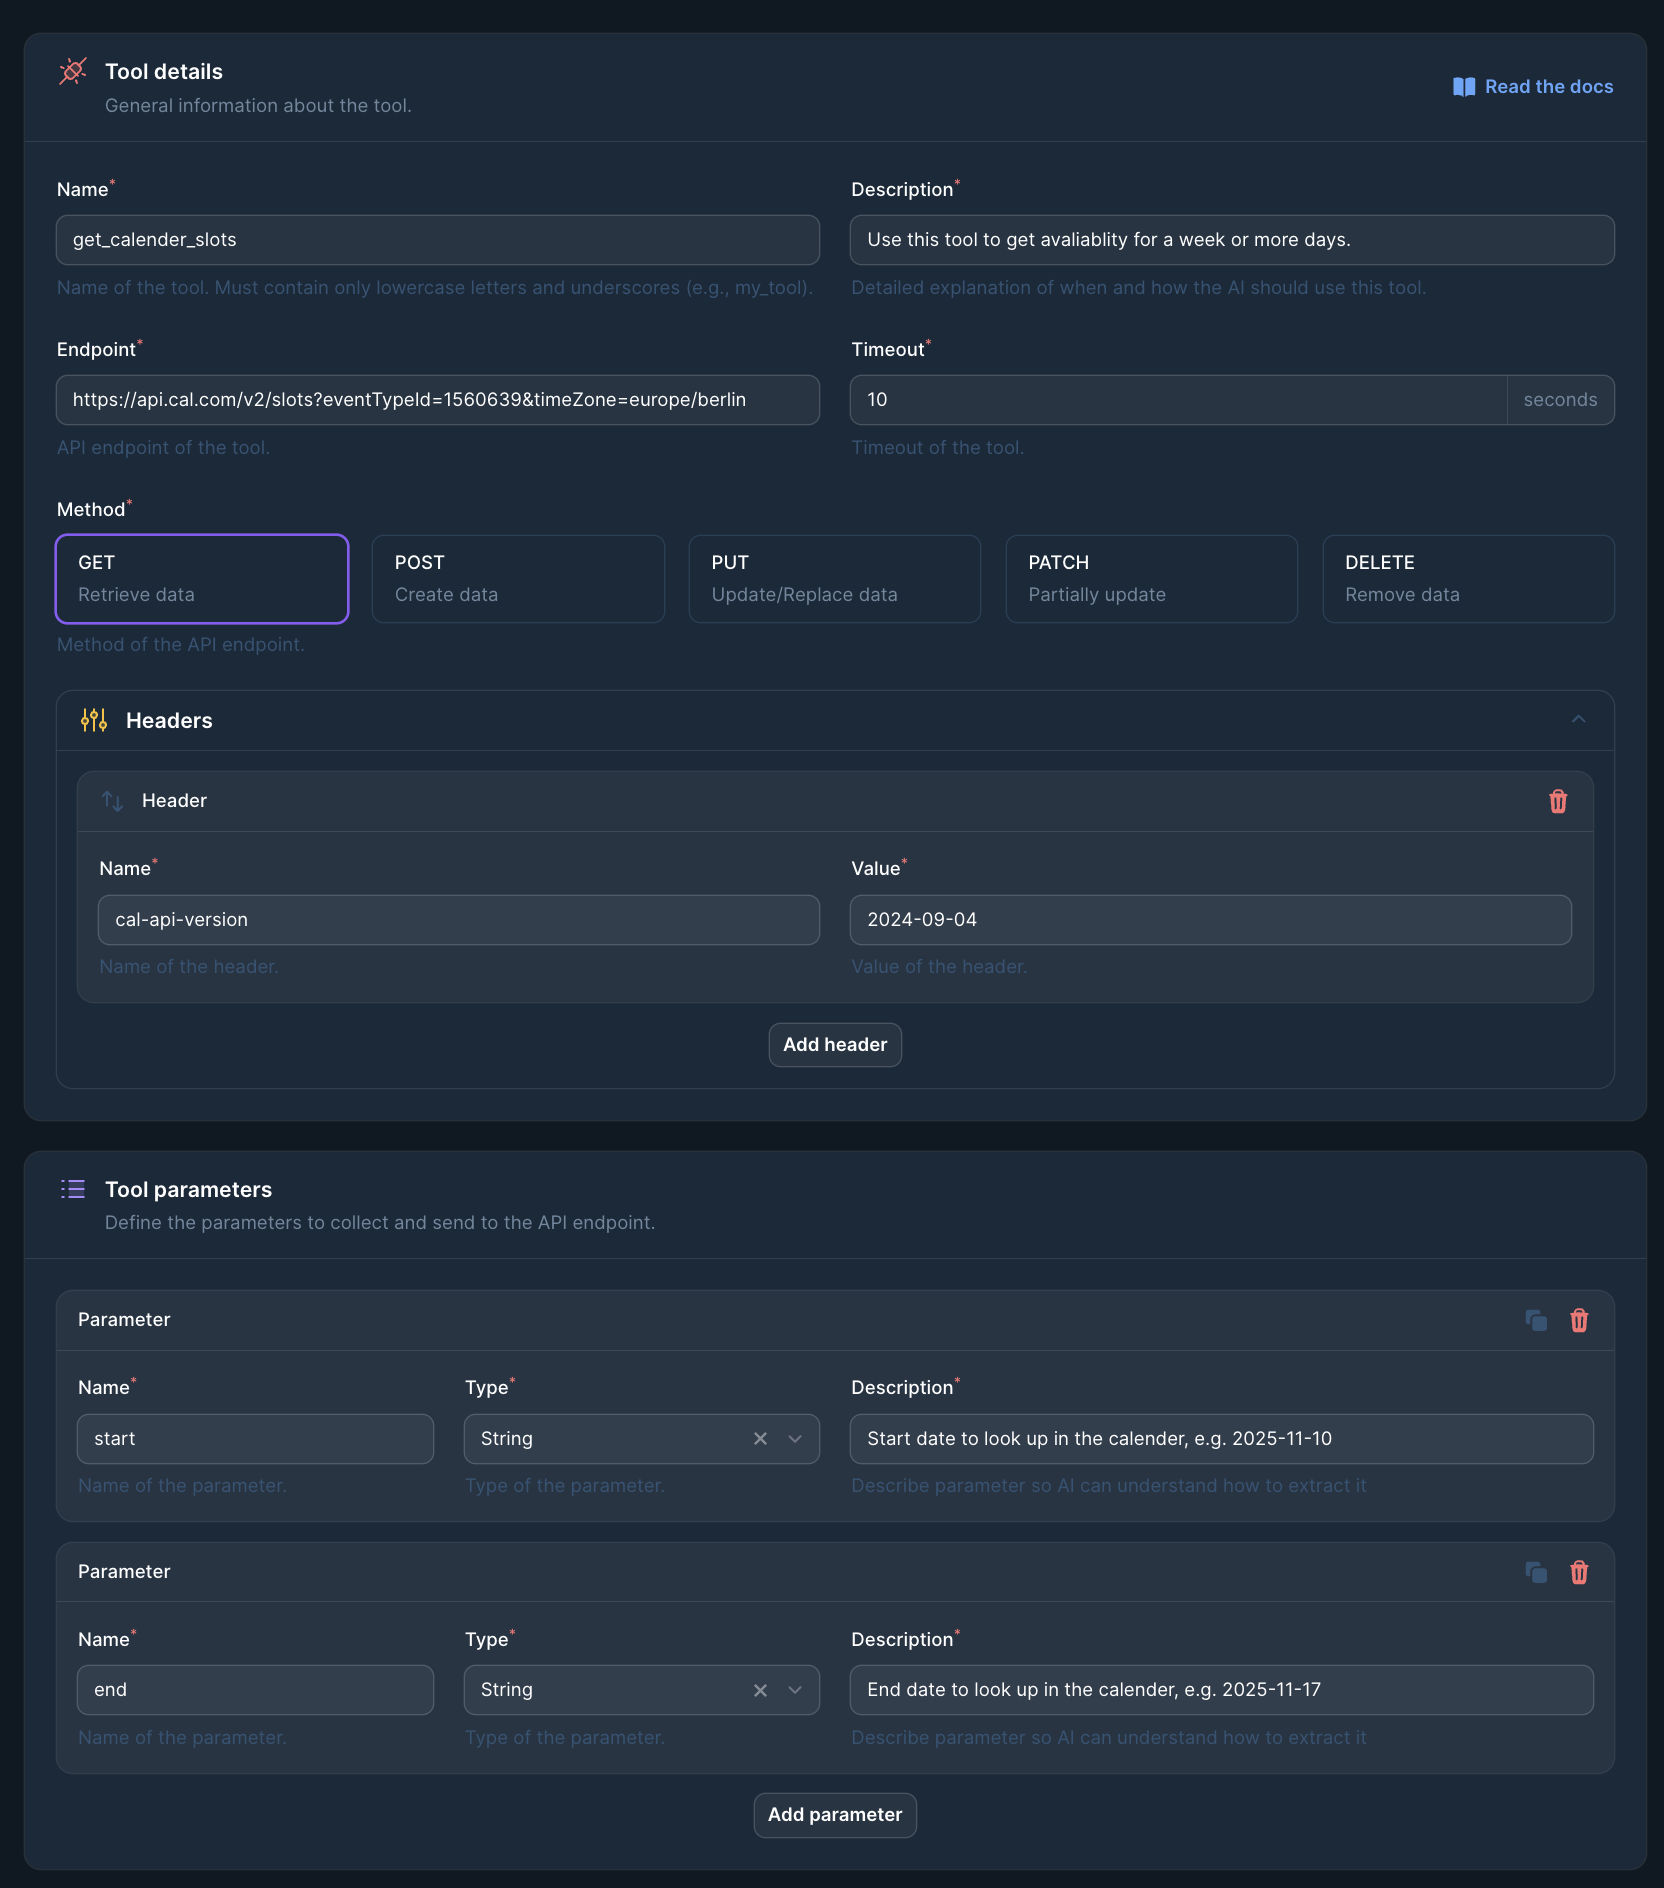
To enable your AI assistant to retrieve available time slots across multiple days using Cal.com, you’ll need to create a custom mid-call tool that calls the Cal.com slots API.Create a Mid-Call Action
- Navigate to your assistant settings and create a new mid-call action
- Configure the tool with the following details:
- Endpoint:
https://api.cal.com/v2/slots?eventTypeId=YOUR_EVENT_ID&timeZone=YOUR_TIMEZONE - Method: GET
- Headers: Add the
cal-api-versionheader with value2024-09-04
- Endpoint:
The
eventTypeId in the endpoint URL is an example. You’ll need to replace it with your actual event type ID from Cal.com.Get Your Event Type ID
- Go to Cal.com and navigate to your event
- Click on the event you want to use
- Look at the URL in your browser - the event ID is the number in the URL
- Copy this ID and replace
YOUR_EVENT_IDin the endpoint URL
Set Your Timezone
Replace
YOUR_TIMEZONE in the endpoint URL with your timezone in the format continent/city (e.g., europe/berlin, america/new_york, asia/tokyo).Add Tool Parameters
Configure the following parameters for your tool:
- start (String): Start date to look up in the calendar, e.g.,
2025-11-10 - end (String): End date to look up in the calendar, e.g.,
2025-11-17
Assign the Tool to Your Assistant
- Open your assistant settings
- Navigate to the “Prompt & Tools” tab (second tab)
- In the “Custom mid call tools” section, click ”+ Create tool” or select your newly created tool
- Add the tool to your assistant

Troubleshooting
If you encounter issues:- Verify your API key is active and has the correct permissions
- Ensure the event type ID is correct
- Check that your Cal.com availability is properly configured
- Confirm no required custom fields are added
- Verify the phone field identifier is exactly “phone”
- Confirm the
emailvariable is properly set in assistant settings - Check that customer email is being passed correctly in leads
- Confirm your timezone settings are correct